Renovation before and after photos: how to take them
Before and after photos are more than a reveal. How to take matching shots room by room, what to record while the walls are open, and how the photos help with snags, neighbours, claims and a sale.
Take before photos of every room before any work starts, from the same corner and height you will use for the after photo.
Photograph pipes, cables, joists and damp proofing before walls, floors and ceilings are closed, with a tape measure in shot.
Matching before and after shots need the same spot, the same angle, the same lens and similar light.
Photos are evidence: of the condition before work, of hidden work, of problems and of what you are paying for.
File each photo against the room and the job it shows, with the date, or it will be lost among thousands of others.
How do you take renovation before and after photos?
Take renovation before and after photos from the same spot, at the same height, with the same lens and similar light. Shoot every room before work starts, photograph pipes and cables before walls are closed, then repeat the original shots at the end. File each photo against its room and job, with the date.
Most before and after pictures you see online are about the reveal. That matters: it is satisfying to see how far a room has come. But the most useful photos from a renovation are often the unglamorous ones in the middle, of pipes in a floor or cables in a wall, which nobody will ever see again. This guide covers both.
Why before and after photos matter
Renovation photos do five jobs. Only one of them is showing off.
Photos taken
What they help with
Before work starts
A record of the condition of your home, and of a neighbour's, before anything changed
While walls and floors are open
Knowing where pipes, cables and joists run once they are hidden
At each stage
Checking work is done before you pay for it
When something goes wrong
Evidence of a problem, with the date
After
The finished record of the job, for you, for a claim and for a future buyer
In the UK (England)
If there is a problem with building work, Citizens Advice suggests taking photos to use as evidence, gathering paperwork and receipts, and making notes about what happened with dates and times before you raise it with the trader.
Before photos: what to take before work starts
Take the before photos before anything is moved, stripped or knocked down. You cannot go back for them.
Every room
A wide shot from the doorway, and one from the opposite corner
Each wall, straight on
The ceiling and the floor
Windows and doors, inside and out
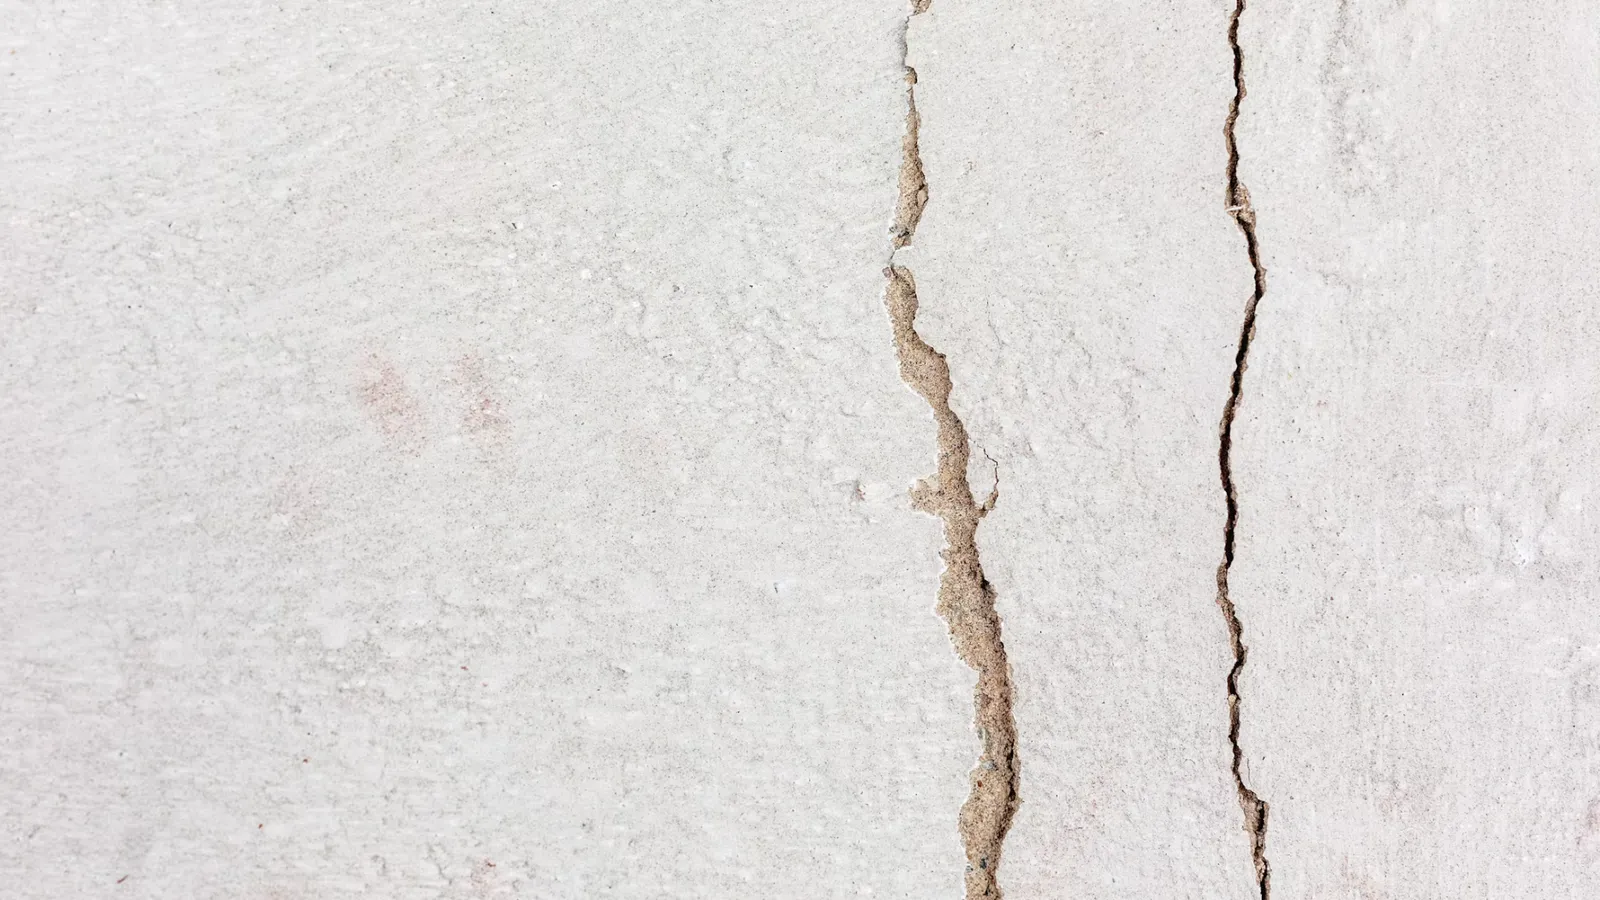
Existing cracks, stains, damp patches and damage, close up, with a tape measure or coin for scale
Radiators, sockets, switches and fittings you plan to keep
The rest of the house
Every outside wall, the roof from the ground, gutters and paths
Meters with their readings, the consumer unit and the boiler
The stopcock and anything else you will need to find in a hurry
Access routes the builders will use: drive, hall, stairs and garden
Anything shared with a neighbour: a party wall, a fence, a boundary
In the UK (England and Wales)
If your work is covered by the Party Wall etc Act 1996, the government's explanatory booklet describes a schedule of condition: a written record of the condition of the neighbour's property before the work starts, usually supported by photographs. It is not a requirement of the Act, but the booklet says it is highly advised, because without one it may be difficult to prove whether damage was caused by the works. If surveyors are appointed, the RICS consumer guide to party walls recommends choosing chartered surveyors who use the MRICS or FRICS designation.
Keep the before photos with the written quote for the job. Citizens Advice advises getting the price in writing rather than relying on a verbal quote, and photos of the condition before work starts sit naturally beside it.
Tip
Before you start, stand in each room and decide where the after photo will be taken from. Mark the spot on a floor plan or with a small piece of tape on the skirting. Then take the before photo from exactly there.
How to take matching before and after shots
A before and after only works if the two photos line up. These rules make that easy.
Same spot. Use the mark you made. A metre to the left changes the whole picture.
Same height. Chest height is easy to repeat. If you crouch for one, crouch for the other.
Same lens. If your phone has a wide lens, pick one and stick with it. Mixing wide and normal makes rooms look different sizes.
Camera level. Hold the phone upright, not tilted up or down, so walls stay straight. Turn on the grid in your camera settings to help.
Similar light. Take both at a similar time of day, or with the same lights on. Daylight from the window side is kindest.
Landscape for rooms. Wide rooms read better sideways. Take a portrait one too if you will use them on a phone.
Clear the clutter. Move tools, bags and boxes out of shot for the after photo, so the work is what you see.
Tip
Before you take the after photo, open the before photo on your phone and hold it up. Move until the doorframe, window and corner line up with the old picture.
Progress photos: the ones you will be glad you took
The photos you will need most are the ones taken while the house is open. Once plaster, boards and tiles go on, the route of every pipe and cable disappears.
Photograph, before anything is covered:
Every cable run and back box in every wall, with a tape measure from a corner or the floor
Every pipe in floors and walls, including where joints are
Joists, beams and lintels, and any repair to them
Insulation, membranes and damp proofing before they are boarded
Drains and their falls before they are buried
Underfloor heating loops before the screed
Any test being done, such as a pipe pressure test, with the gauge in shot
Watch out
A photo of a wall full of pipes is not much use without scale. Put a tape measure in the shot, running from a fixed point such as a corner or the floor, so you can find that pipe again in ten years before you drill.
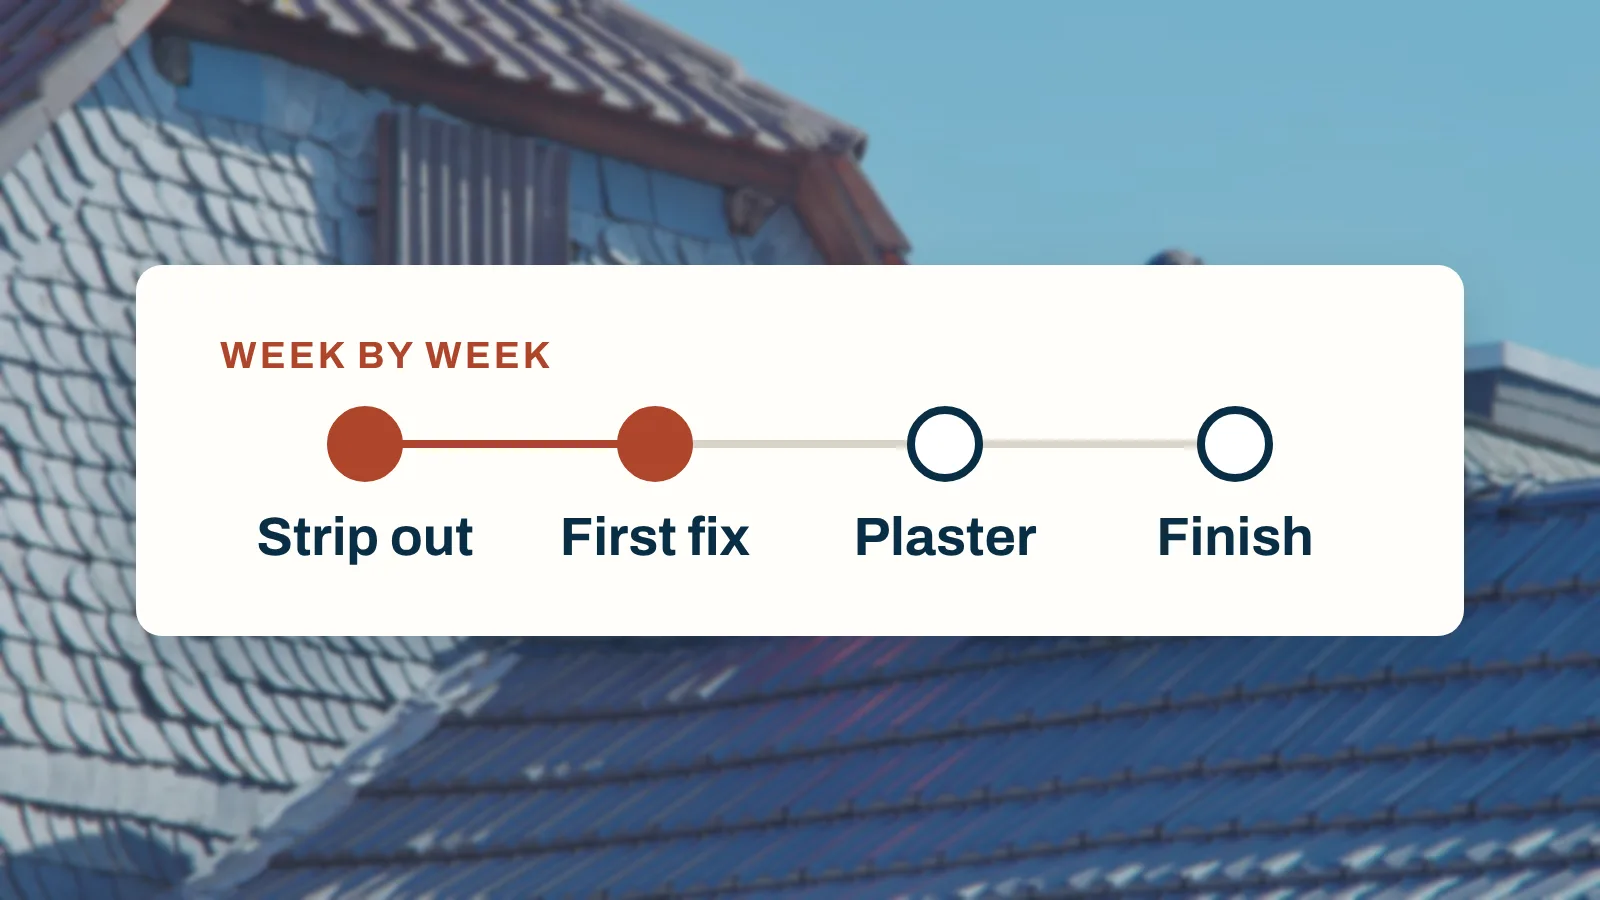
Take progress photos at a regular rhythm too: the same shots at the end of each week, or at each stage the builder reaches. They show how the job is moving and help you check what you are being asked to pay for. Our guide to paying a contractor in stages explains why each payment should follow work you have seen done.
Photos of problems and snags
When something is not right, a photo turns a complaint into a fact.
Take a wide shot first, so it is clear where the problem is.
Then a close-up, with something for scale.
Note the date, the room and the trade. Your phone records the date; the room and trade are up to you.
Separate problems from changes. A defect is the builder's to fix; something you now want done differently is a variation (change order) with its own price, agreed before the work, as our guide to variations and extras explains.
Send it in writing when you raise the problem, and keep the reply.
Photograph it again once fixed, from the same spot.
At the end of the job, the same approach makes a snagging list easy to agree: one problem per line, each with a photo.
How to organise renovation photos
Mekozo's Property Record keeps each piece of work with its room and the documents and photos connected to it, so the before shot, the pipe runs and the finished room are together.
A renovation can produce thousands of photos. Without a system, the one you need is lost in the camera roll among the lunch breaks and the cats.
File photos by room and by job, the same way as your receipts and quotes. "Bathroom, first fix plumbing" is findable; "IMG_4471" is not.
Keep three groups per room: before, during and after.
Delete the duds at the end of each day, while you remember which are which.
Keep the originals. Edited or compressed copies are fine for sharing, but keep the full-size files with their dates.
Back them up somewhere other than your phone.
Our guide to organising renovation receipts and invoices uses the same room and job structure, so photos and paperwork for a job sit together. An invoice is the bill for agreed work; record it, then the payment against it, and file the photos of that work beside both.
Getting a great after photo
When the room is finished, give the after photo a little care. It is the one you will look at most.
Clean the windows and the lens
Remove dust sheets, tools, labels and protective film
Open curtains and blinds; turn on the lights you would normally use
Stand on the same mark as the before photo
Take the matching wide shot, then the details you are proud of
Take one more set of the outside from the original spots
When you put the before and after side by side, crop them to the same size so the change is easy to see. Then keep a small set of the finished photos with the guarantees and certificates for the job in your home record: a future buyer, or a future you, will want to see what was done.
On the Operation Sicily villa
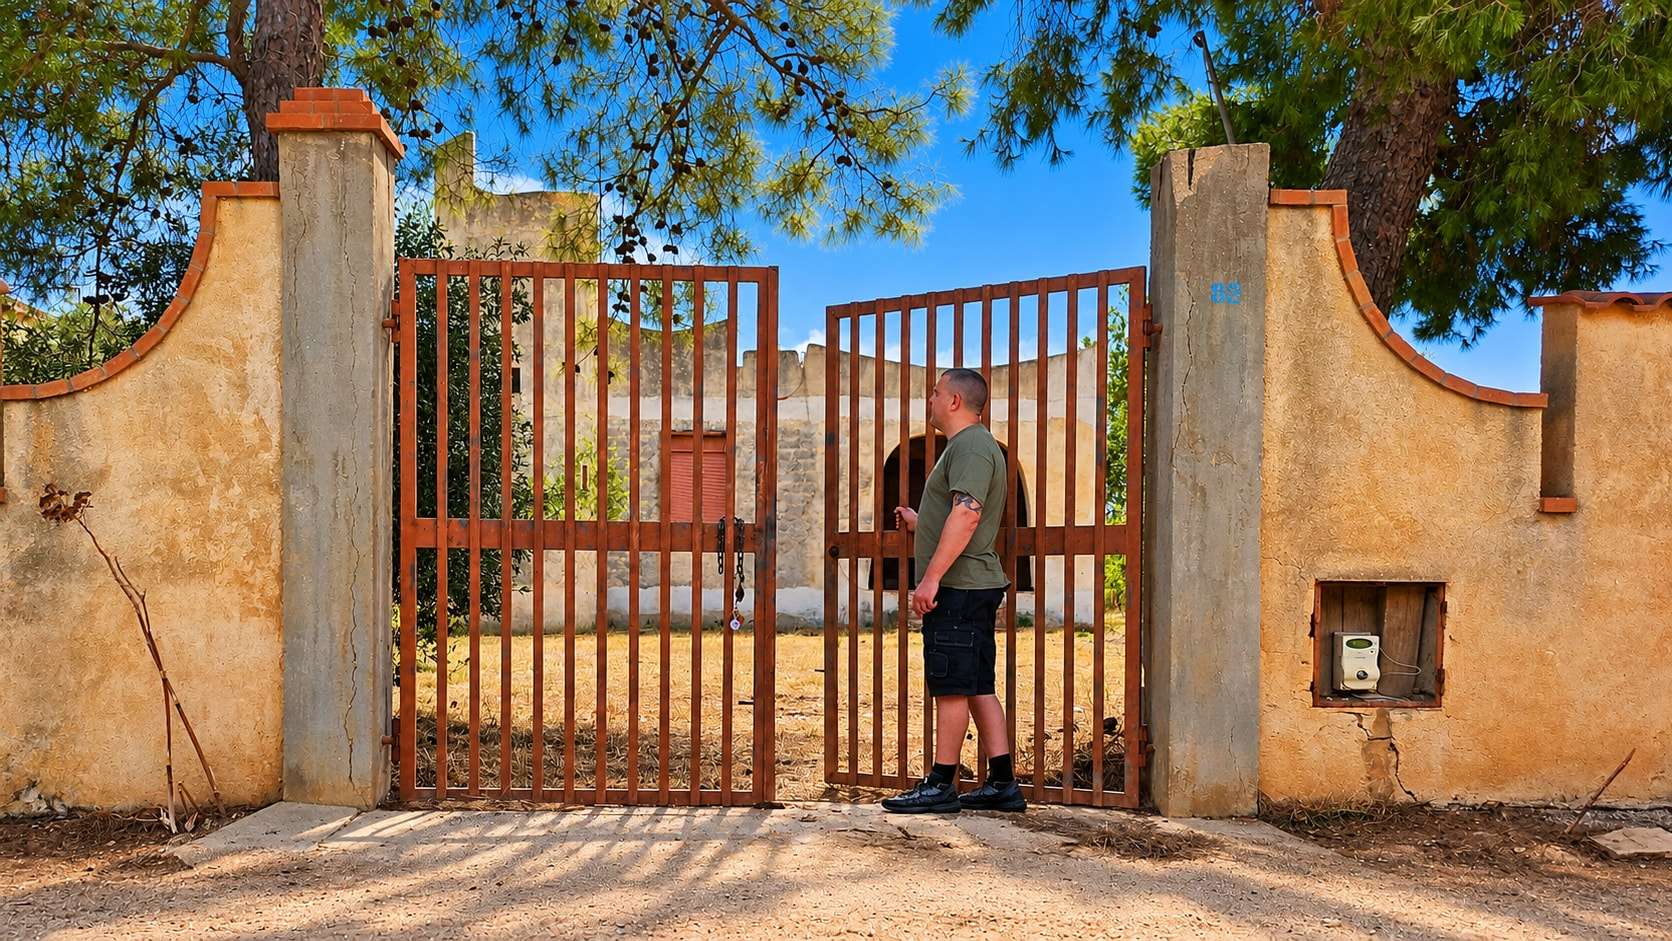
From the villa in Sicily. The villa bought by Mekozo's founder, Jonathan Smith, had stood empty for over 20 years when he got the keys, and he filmed it for Operation Sicily as he found it: rodent-infested furniture, rat nests and years of dust. In Episode 70, after about 19 months of electrics, drains, lintels, reveals and preparation, the lime plaster was finished, and the episode cuts between the old footage and the new walls room by room: the lounge, the kitchen, the hallway and the bedroom. The kitchen goes from derelict units and rubbish bags to plastered walls ready for the floor and units. The less glamorous footage matters as much: before the bathroom chases were filled with mortar, the new pipework was flushed and held under pressure, on camera (Episode 79). Once the walls are tiled, that record is the only way to see what is behind them.
This guide explains a practical method for recording your renovation. It is not legal or survey advice.
Questions people ask
How do you take good before and after photos of a renovation?
Stand in the same spot, at the same height, with the same lens and the camera level, and take the shot in similar light. Mark the spot with a note or a small piece of tape before work starts, and take a wide shot from the doorway as well as close-ups. Then repeat the same shots at the end.
When should I take before photos of a renovation?
Before anything is moved or removed, ideally on the day you get the keys or before the builder starts. Photograph every room, the outside, the meters and anything shared with a neighbour. It is impossible to go back for a before photo once the first wall comes down.
Why take photos during a renovation?
Progress photos show what is hidden once the work is finished: pipe and cable routes, insulation, joists and damp proofing. They help you check work before you pay for it, find a pipe before you drill, and give evidence if a problem comes up later.
Can photos help in a dispute with a builder?
Yes. Citizens Advice suggests taking photos as evidence of a problem, along with gathering paperwork and receipts and making notes with dates and times, before you raise it with the trader. Dated photos of the work at each stage make it much easier to show what happened and when.
Should I photograph my neighbour's house before building work?
If your work is covered by the Party Wall etc Act 1996 in England and Wales, the government's explanatory booklet says a schedule of condition of the neighbour's property, usually supported by photographs, is highly advised. Without one, it may be difficult to prove whether damage was caused by the works.
Jonathan Smith is the founder of Mekozo and Operation Sicily. Jonathan bought an abandoned villa in Sicily and is rebuilding it on camera, every week. Mekozo is the app Jonathan built to keep that renovation's money in one picture.
A snagging list (a punch list) records every defect left at the end of a job. How to write one room by room, agree it with your builder and close it before the last payment.
A simple system for renovation paperwork: capture every receipt and invoice the day it arrives, file it against the job it belongs to, check it, and keep what you will need later.
A renovation schedule is more than a list of dates. How to build one from the jobs, their dependencies, lead times and decision dates, and how to keep it on track when something slips.